How to Support Dark Mode on Your Hugo Static Website
 YC
YC- |
- 07 January 2022
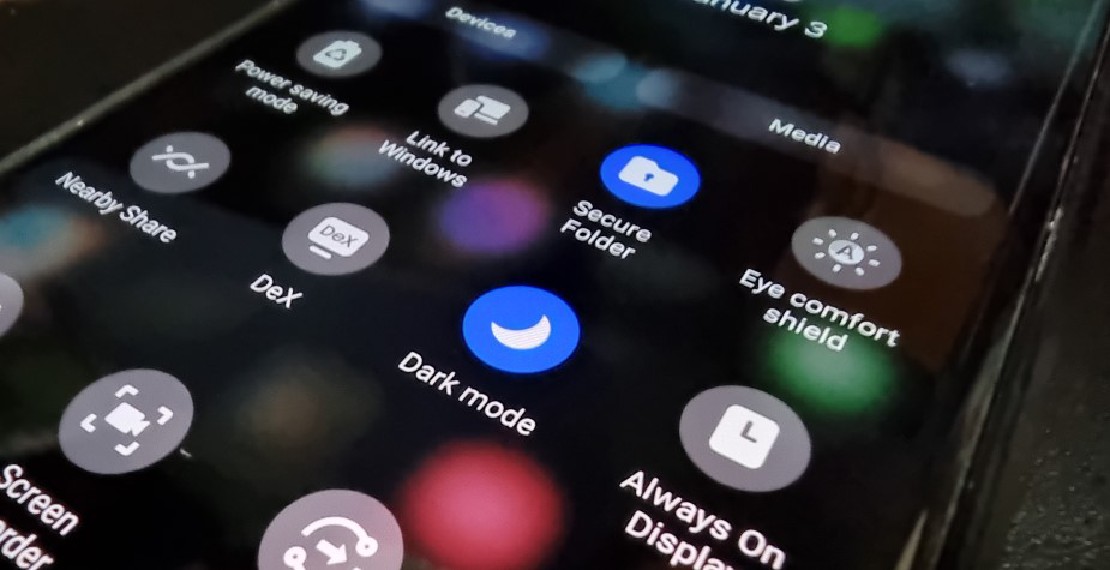
Dark themes are a godsend. They save and keep the eyes of many tired developers healthy. They are probably one of the best invention in the past decade. Many developers are huge fans of dark mode. Supporting dark theme on your website appease your user so much that they might stay on your page for a couple of minutes longer. Okay maybe not, but I’ll be honest that I am that one guy who will scour through every settings on every website that I use for the ability to switch on that dark mode.

If the theme of your website similar to this blog, being a bright theme with white background, then you should provide your user a much comfortable night viewing experience.
This blog is generated using static site generator Hugo and Hugo does not support dark mode out of the box. There are many beautifully designed Hugo themes out there, but most Hugo theme do not come with a dark version of the theme. If the theme of your website is similar to this blog, being a bright theme with white background, then read on to find out how to easily add dark mode support to your website (including non Hugo website)!
Content
Get your dark theme css
Dark Mode extension does an excellent job with their take on dark mode and they provide a variety of different dark style to choose from. You can choose a preferred dark theme and use its corresponding css on your website. The following instructions will make use of their Google Chrome extension which requires you to use Google Chrome web browser. If you prefer to use another browser, the steps are similar to the Google Chrome browser as long as it is support by dark mode extension.
- Install dark mode extension from chrome web store.
- Enable the extension and open up the option menu by right clicking the extension icon -> Options
- In the option menu of the dark mode extension, expand Classic Themes and choose your preferred style

- Open another window of chrome browser and enter the address of your website. Place it side by side as your dark mode options. This allows you to preview your selected dark mode style in real time.
- Once you have decided on the preferred dark theme style that fits your website, right click on the selected option text and select Inspect.
- Expand the
<label>tag and find the input id. In this example, the selected option is Dark mode - ice dark and the corresponding id to isdark_7
<tr>
  <td>
    <label style="color: rgb(110, 110, 110);">
      <input type="checkbox" id="dark_7">
      Dark mode - ice dark
    </label>
  </td>
</tr>
- Next navigate to your Chrome extension folder.
C:\Users\<USER>\AppData\Local\Google\Chrome\User Data\Default\Extensions\dmghijelimhndkbmpgbldicpogfkceaj\<CURRENT VERSION>\data\content_script\general\ - In this folder you will see a comprehensive list of dark theme css files. Following the example, we will look for
dark_7.css. Copy the content and save asdark.cssin your project css directory.
Choosing a suitable dark theme
Choosing a suitable dark theme can be a tricky choice. Everyone have their preference of dark theme and it is hard to decide one that works for majority of your users. Some will prefer a dark theme that is more towards the greyish tone while some are like me who prefers going true black. The best decision you can make is that it might blend well with your website and it must not change the intended meaning of your content.
Take for example if we choose Dark invert #5. You can see the color of the notice bar remains.

Now if we test the same with Dark invert #4. You can see the color of the notice bar changes. This could potentially change the meaning of your content inside the notice. Notice that the color of Note & Info has just been swapped, effectively changing the perceived meaning.

Add a toggle between light & dark mode
Most theme nowadays comes with an icon pack. The theme of this blog comes with Font Awesome. In this example we will be using the moon & the sun icon to toggle between the mode. User will click on the moon icon to switch to dark mode or click on the sun icon to switch to light mode.
Below is the example of the html code to render the icon using Font Awesome. This blog defaults to light mode, so we display the moon icon on page load.
<a id="dark-toggle" class="dark-mode-toggle" aria-label="dark-mode-toggle"><i class="fas fa-moon"></i></a>
If you like to default your theme to dark mode, then instead display the sun icon.
Add css & javascript to complete the magic
Now let’s add our dark.css to your html. Since we default to light mode, we have the <link> disabled.
<link disabled rel="preload" id="dark-theme" onload="this.onload=null;this.rel='stylesheet'" href="dark.css" type="text/css" as="style">
Notice we are using rel="preload" here. Since we are defaulting to light theme, the <link> is disabled. Hence we do not need to download the css file immediately during a user’s first visit. Subsequently if the user has selected dark mode, the css file would have been cached by the browser.
Now we add the javascript to complete the toggle functionality. In this example we will utilize jQuery. The same piece of code can be completely written without jQuery(e.g. using document.getElementById instead of $('') selector), but for convenience we will skip this.
const darkIconClass = 'fas fa-moon'
const lightIconClass = 'fas fa-sun'
var darkCSS = $("#dark-theme");
var darkToggleIcon = $("#dark-toggle i");

// Set theme with the given mode and toggle the theme icon button
function setThemeMode(mode) {
  if (mode === "dark") {
    darkCSS.prop('disabled', false)
    $("#dark-toggle i").attr('class', lightIconClass)
  } else if (mode === "light") {
    darkCSS.prop('disabled', true)
    darkToggleIcon.attr('class', darkIconClass)
  }
}

// Toggle dark mode when user click on the icon button
$("#dark-toggle").click(function () {
  if (darkToggleIcon.attr("class") == darkIconClass) {
    setThemeMode("dark")
  } else if (darkToggleIcon.attr("class") == lightIconClass) {
    setThemeMode("light")
  }
});
Persist user’s theme selection
Modern browsers provide localStorage which allows you to store data that persist across browser sessions. According to Mozilla localStorage documentation:
localStorage is similar to sessionStorage, except that while localStorage data has no expiration time, sessionStorage data gets cleared when the page session ends — that is, when the page is closed. (localStorage data for a document loaded in a “private browsing” or “incognito” session is cleared when the last “private” tab is closed.)
This allows us to persist user preference without a backend server, perfect for static website.
Add the following in setThemeMode() to persist the user selection.
localStorage.setItem("dark-mode-theme", mode);
On page load, invoke setThemeMode() method with localStorage value to automatically set mode based on user’s previous preference.
setThemeMode(localStorage.getItem("dark-mode-theme") || "light");
Replace || "light" with || "dark" if you plan to enable dark mode by default.
And then you are done! Test out your shiny new dark mode and don’t be afraid to try out other dark theme css on your website.
Check out this article to learn how to automatically set dark mode based on user system setting to give your users a more customized experience.

Written By
YC
I oversee a group of developers based in Singapore, where I professionally write code in Golang. My expertise lies in crafting highly efficient and scalable backend systems.
You May Also Like
-
YC
- 01 Sep, 2024
When a Golang nil error is not nil
Coding in Golang are usually fun and easy for developers that are new to the language. There are sometimes gotcha which will catch out even experience …
Read Article
-
YC
- 29 Jan, 2024
Crash Course on Golang Benchmarks: A Beginner's Perspective
Golang, renowned for its simplicity and efficiency, employs benchmark testing as a fundamental tool for performance evaluation. In this exploration, …
Read Article